
How to Make Physical Flashcards: A Step-By-Step Guide
You might be wondering why, with so many amazing AI tools around, students still swear by old-school paper flashcards. The main reason is that making physical flashcards is a great no- tech way to reinforce your studying. Researchers call this the “encoding hypothesis”. The study by Mueller and Oppenheimer, entitled The Pen Is Mightier Than the Keyboard: Advantages of Longhand Over Laptop Note Taking, concludes that the act of writing each card by hand is itself a form of studying. This means that the memorization work is happening even before you are technically trying to memorize.
Paper flashcards are particularly useful for language learning, memorizing formulas, medical or anatomy terms, and any high-volume vocabulary study.
Making physical flashcards is simple. All you need is a stack (or three) of blank index cards, a pen, and a system for what goes on the index cards. Typically, the question or prompt is on the front and the answer on the back.
This guide covers what you need, the step-by-step process, examples of good and bad cards, subject-specific templates, and answers to the questions students ask most often when making their own study decks.

TL;DR
- All you need is index cards and a pen
- Only one question or prompt per card
- The question goes on the front, answer on the back
- Group your cards by subject or topic (use colour coding)
- Use the Leitner system to schedule regular reviews
- Test yourself daily on the cards you find hardest to memorize
What Do You Need to Make Physical Flashcards?
All you need to make physical flashcards can be found in your local office supply shop at a low cost.
Essentials:
- A stack of blank index cards (3x5 inches is standard, 4x6 if you need more room)
- A pen (consider a couple of different colours)
- A way to store them (a box, an elastic band)
Optional but for even better results:
- Colour-coded cards can help you; group by subject or subtopic
- A ruler to help you keep your writing clear
- A card box divided into sections to help with spaced repetition
- A hole punch and a ring to help make your cards more portable
Some subjects like biology are heavy on diagrams. Consider using slightly larger cards, so you have more room to sketch. The standard 3 x 5 inch size is perfect for most vocabulary tasks.
How to Make Physical Flashcards Step by Step
Step 1: Break Your Material Into Questions
Organize your notes and materials before you start writing your cards. Try to identify which terms or concepts you actually need to memorize. Once you have the list or an idea of how to approach making the cards, you can begin. Keep one idea per card. Cards with multiple ideas or with too much information on them are much harder to recall.
Step 2: Write the Question on the Front
Use plain language and be as short and specific as you can. For example, let’s say you are memorizing “photosynthesis”. Your index card can be a question like “Define photosynthesis” or “What is photosynthesis?” or a prompt like: “What is the equation for photosynthesis?” Always be clear on what you need to memorize.
Step 3: Write the Answer on the Back
The back of your index card contains the answer and any additional context that will help you remember. You could include a mnemonic, a visual,l or a connecting definition. Keep the answer tight. If you are having a hard time fitting the information on the back, you are likely cramming too much information in there.
Step 4: Group Your Cards by Topic
Arrange your cards into small stacks by subject or topic. You can use already colour-coded cards to help you visually distinguish the groups, or you can simply mark the corners of grouped cards with a marker or highlighter. Doing this will make your review sessions a breeze.
Step 5: Use the Leitner System for Reviews
The Leitner system was developed by German journalist Sebastian Leitner in 1972. It is the classic method for reviewing physical flashcards. It's a low- tech version of spaced repetition, and it works for many of the same reasons: spaced repetition works because it identifies and targets what you're about to forget. As the University of York explains, you set up several boxes or sections. The cards you answer right move to the next box (they will be reviewed less often), and cards you get wrong move back to Box 1 (these you will review more often). You spend most of your time on the cards you don’t know well.
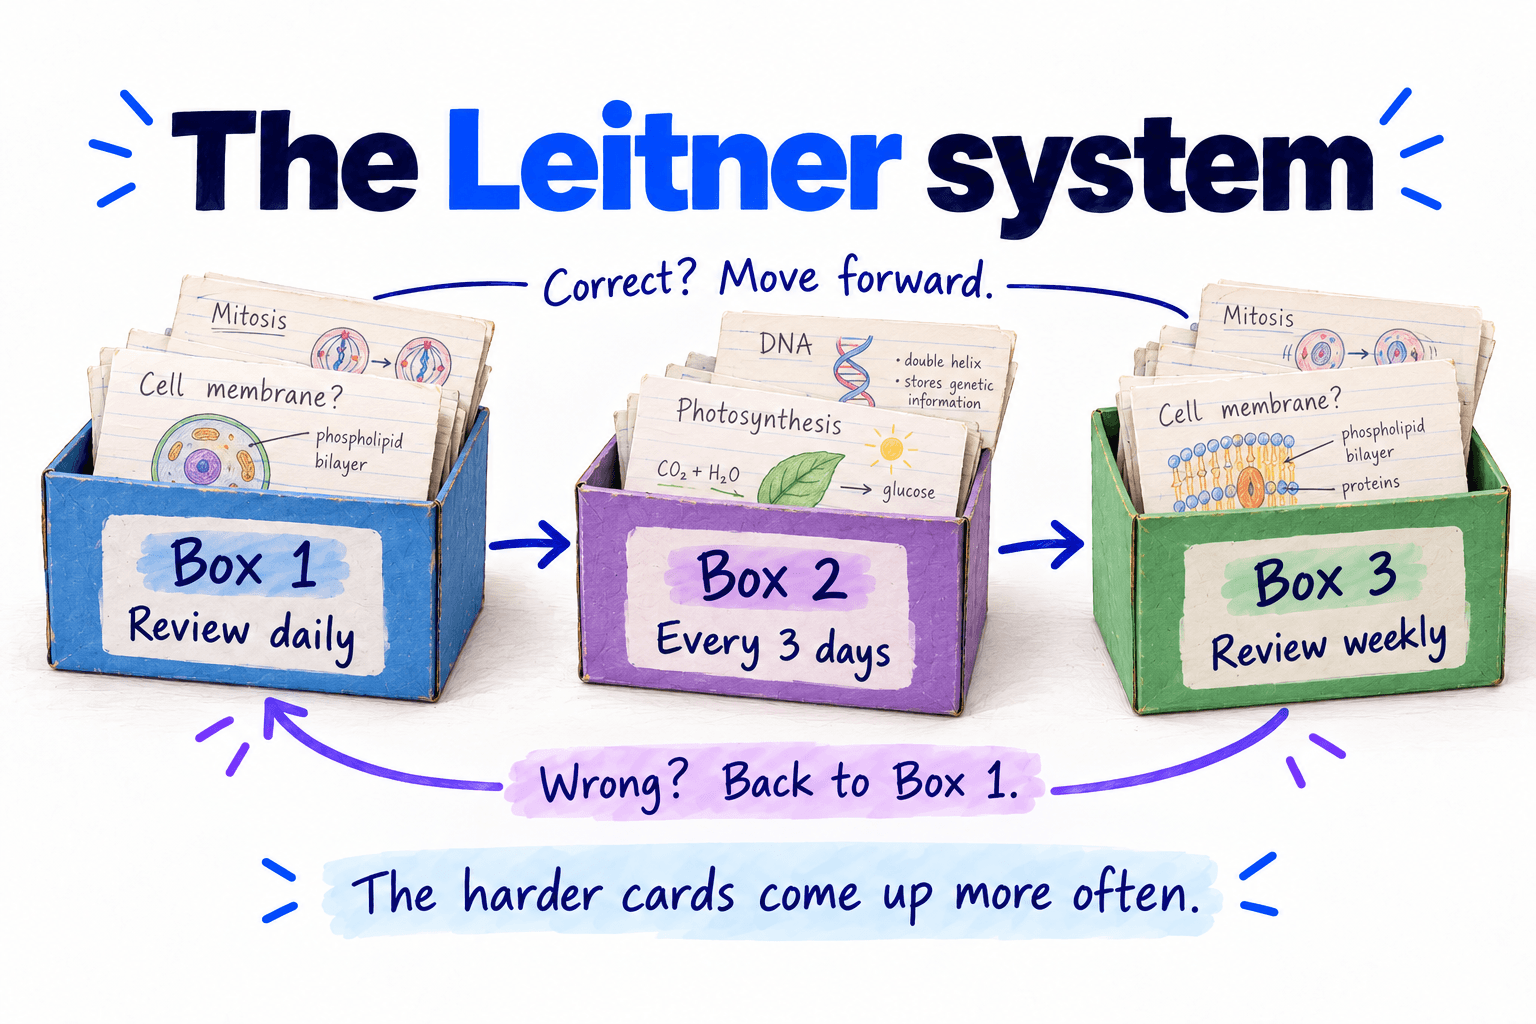
A simple 3-box version to start:
- Box 1: Daily review
- Box 2: Review every 3 days
- Box 3: Review weekly
Step 6: Test Yourself, Don't Just Re-Read
Take a short pause before flipping the card over to read the answer and see if you can recall parts or all of it. The single biggest mistake students make when using flashcards is immediately reading the answer and missing out on the benefits of some of the techniques we mentioned earlier. Spaced repetition beats rereading precisely because it forces retrieval.
Good vs Bad Physical Flashcards
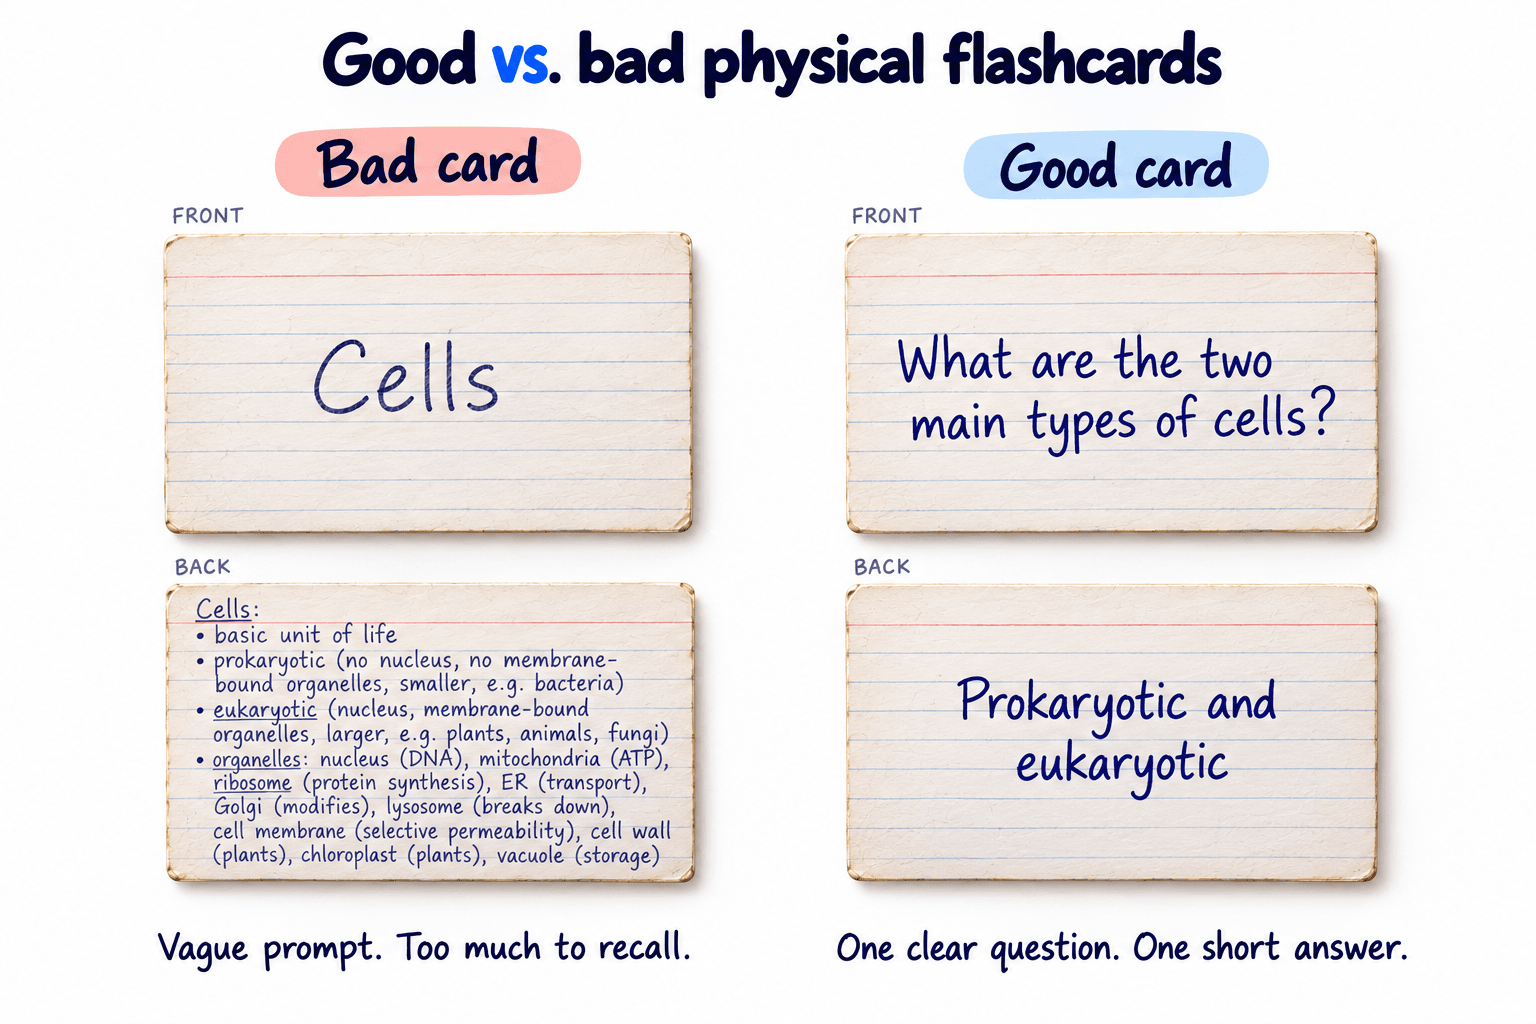
A good flashcard keeps things simple. Less effective ones try to cram as much “related” information as possible, defeating the purpose of this study method.
Examples of Physical Flashcards for Different Subjects
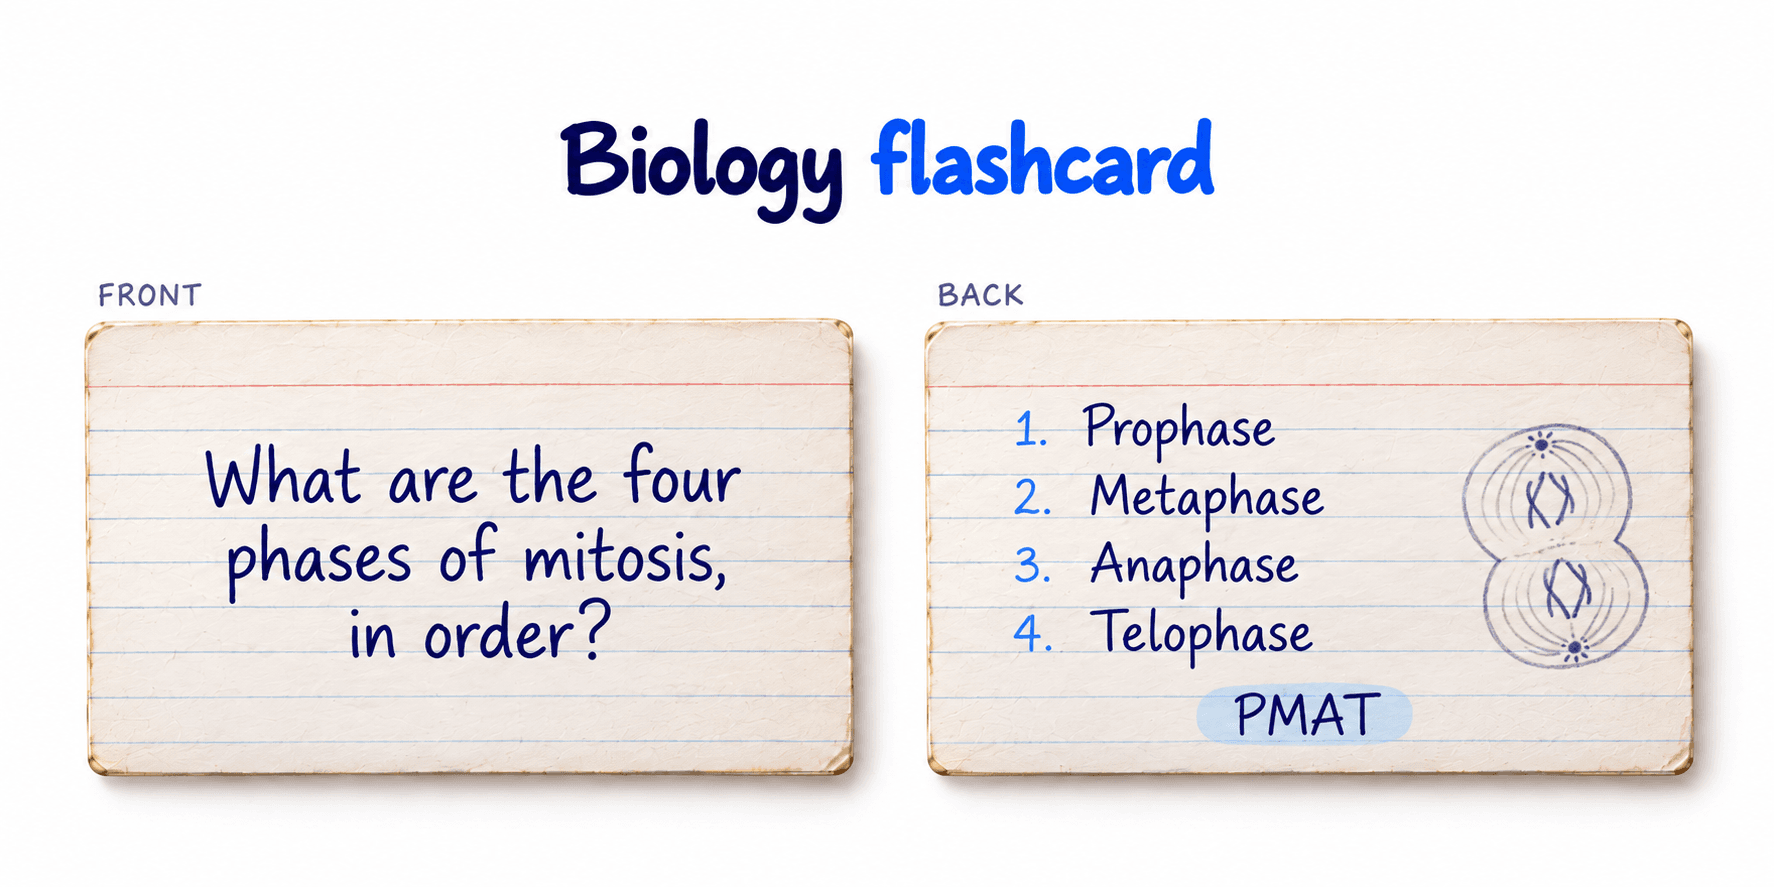
Biology
- Front: What are the four phases of mitosis, in order?
- Back: Prophase, Metaphase, Anaphase, Telophase (mnemonic: PMAT)
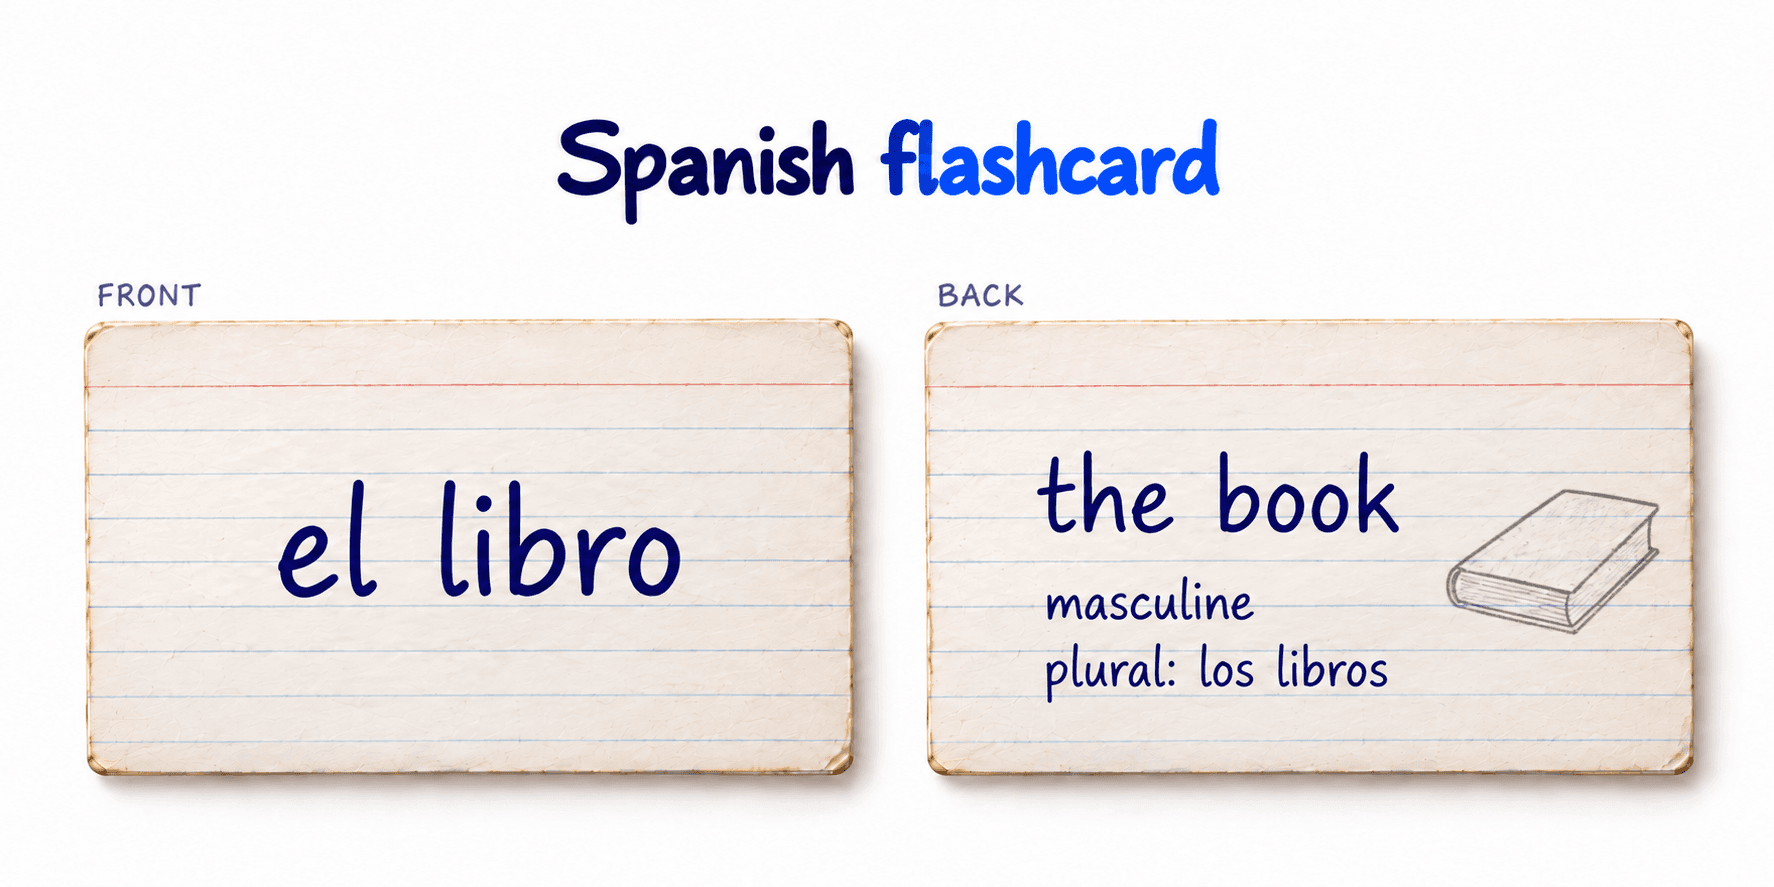
Language Learning (Spanish)
- Front: el libro
- Back: the book (masculine, plural: los libros)
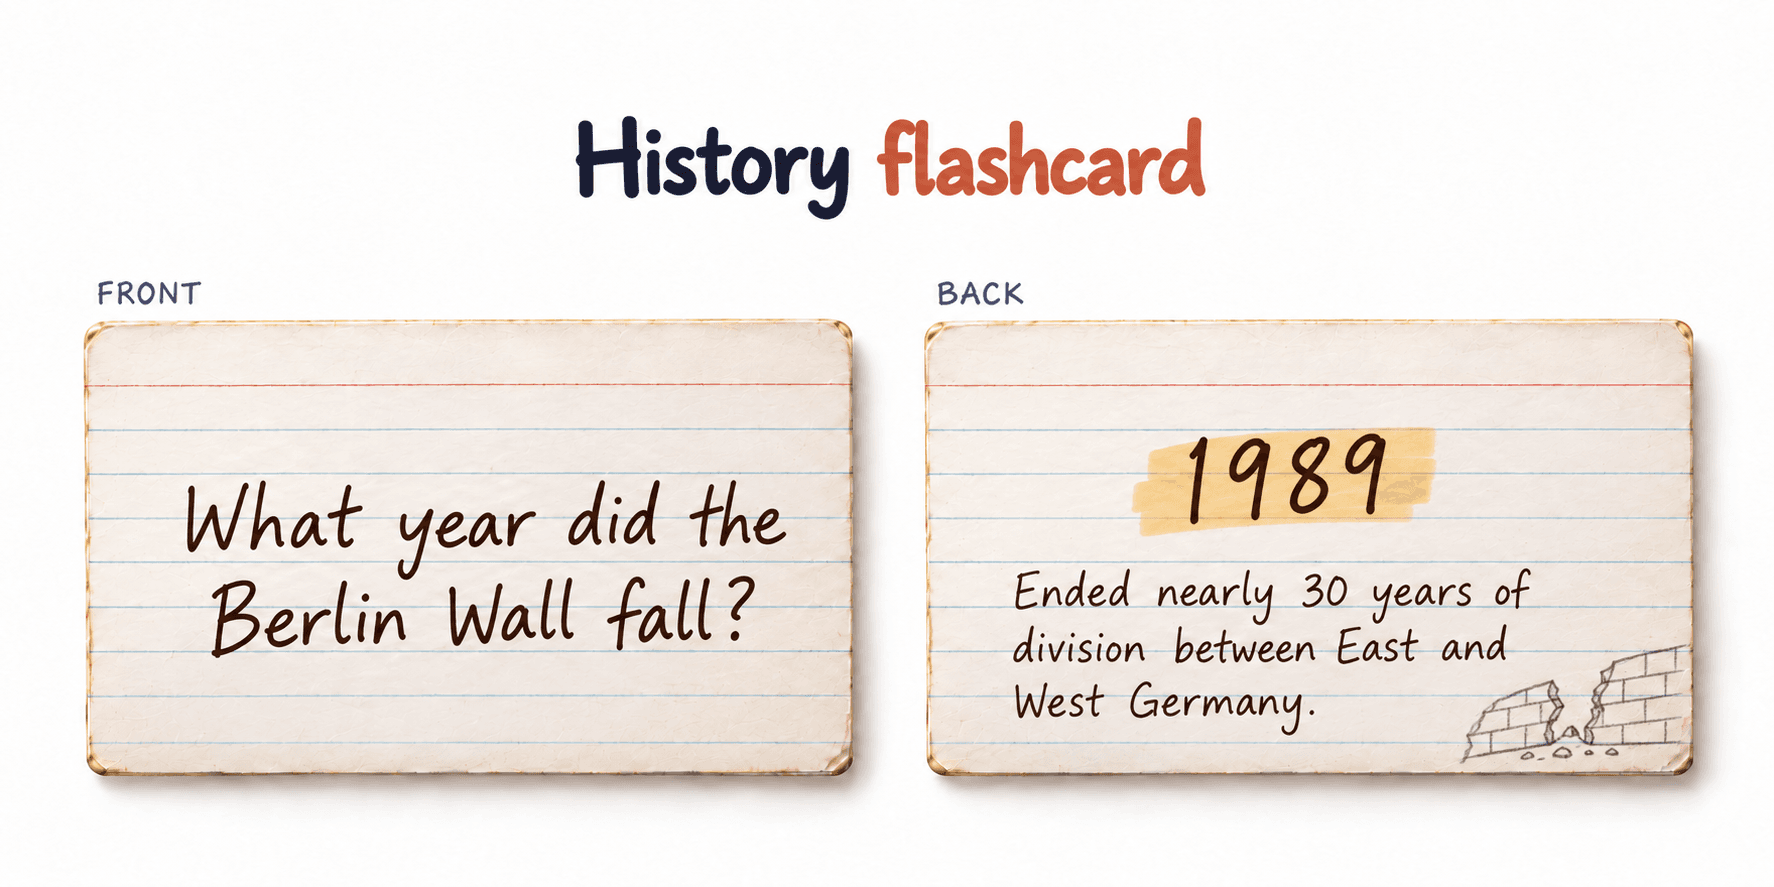
History
- Front: What year did the Berlin Wall fall?
- Back: 1989. Ended nearly 30 years of division between East and West Germany.
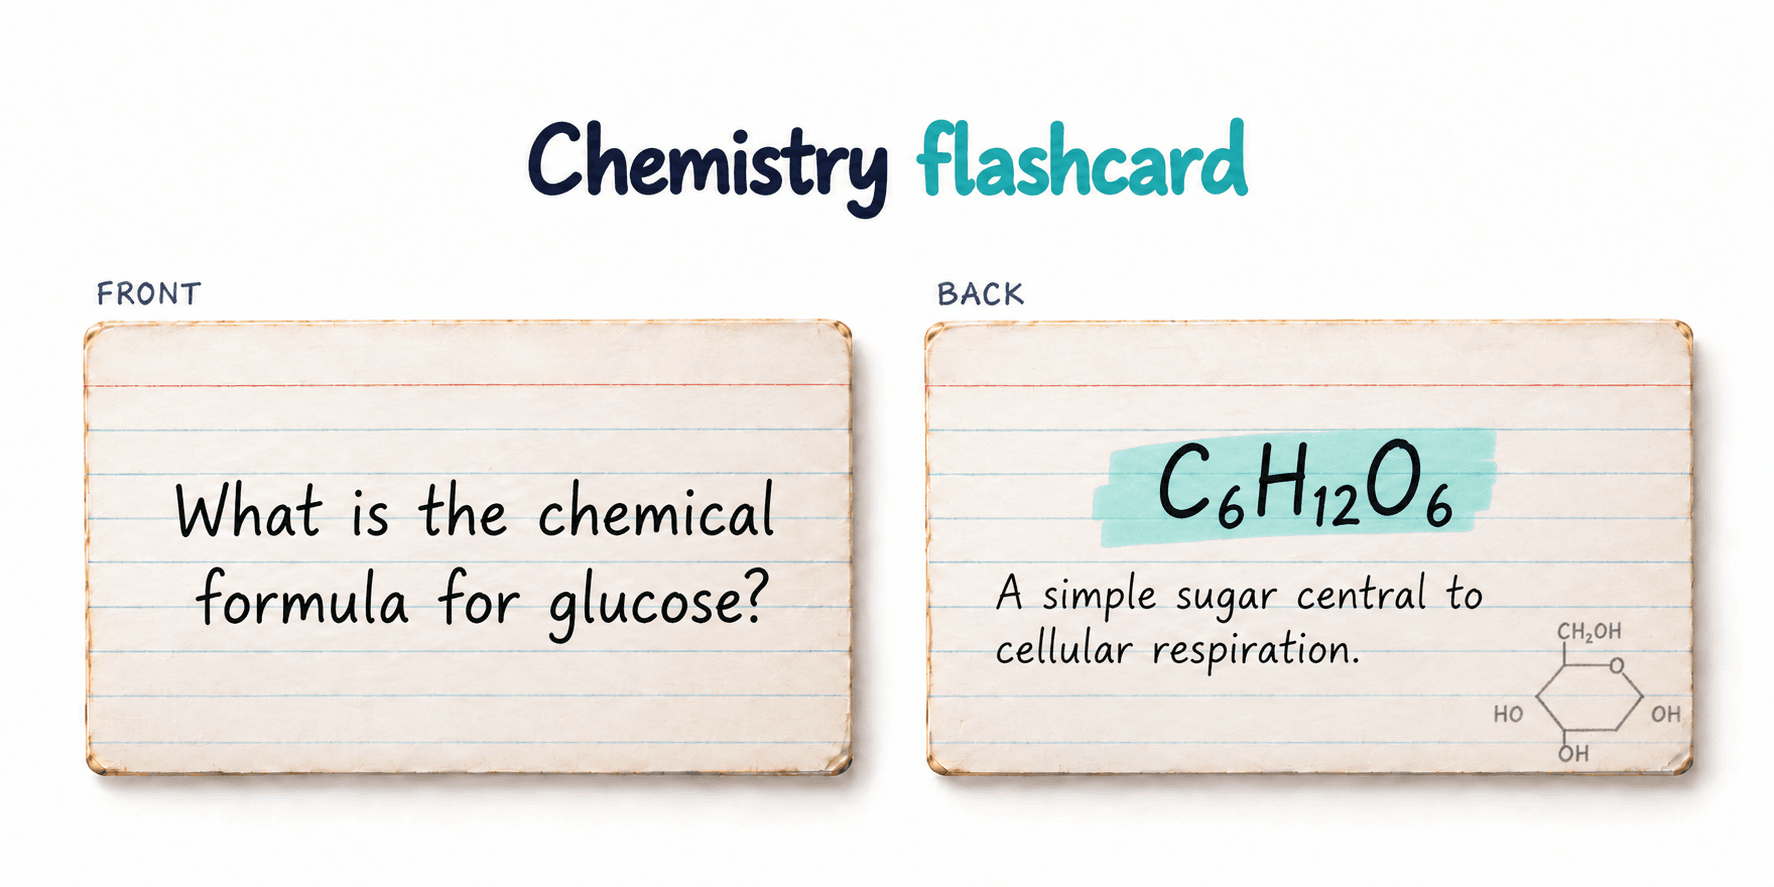
Chemistry
- Front: What is the chemical formula for glucose?
- Back: C₆H₁₂O₆. A simple sugar central to cellular respiration.
When to Switch to Digital
Physical flashcards work well,l but they do face limitations. If you are covering less than 200 cards worth of material and have shorter study periods, traditional cards are a good option. Once your deck grows, a few problems start to appear. Sorting takes longer than the actual studying, cards get lost or damaged, and scheduling reviews across dozens of topics becomes its own hassle. This is where digital tools come in.
A good AI flashcard generator can turn your notes into a full deck in seconds, PDF-to-flashcards handles entire textbook chapters, and a free flashcard maker that includes spaced repetition automates the Leitner-style scheduling. If you want to compare options, our roundup of the best flashcard makers covers the major tools side by side.
FAQs
How do you make printable flashcards?
Popular programs like Word, Google Docs, cs and Canva have templates to help you format your printable flashcards. The rectangles are usually 3x5 or 4x6 inches. Fill in the fronts on one page and the backs on a second page, print double-sided, and cut.
What should you put on physical flashcards?
Remember to keep only one idea per card. On the front, write the prompt or the question. On the back, write a short answer and include any mnemonic, diagram, or example that’s going to help you recall. If it takes more than two lines of text to do this, it's too long.
How do you organize physical flashcards for studying?
Group your cards by subject and topic first. You can then use the Leitner system within each group so you spend more time on material you don’t know well. Sort your cards and store them safely so they are ready for your next study session.
Are physical flashcards better than digital?
They're better for some situations, worse for others. Physical cards are better for encoding (writing engages the brain) and for anyone who studies better off-screen. Digital tools that let you create flashcards automatically are better for large decks, spaced-repetition scheduling, and shared study sets. Many students use both: physical cards for the small, high-priority deck they carry around, and digital for the bulk of their material.
Can I make flashcards from my lecture notes?
Yes. Go through your notes after each lecture and turn each key concept into a card. If you use digital notes, tools that let you make flashcards from your notes directly can save hours, and our guide on turning lecture notes into flashcards walks through the workflow. For paper notes, review within 24 hours and convert the highest-priority concepts to cards while the lecture is still fresh.